Today I’m showing one of my favorite things from the July – December 2023 Mini Catalog, the Santa’s Delivery bundle. This bundle is part of Santa’s Express Suite. This suite is so fresh and different from previous Christmas offerings by Stampin’ Up! The train is so cute and Poppy Parade and Bermuda Bay are a fresh take on Real Red and Pool Party as Christmas colors.
Today’s Project – Santa’S Delivery
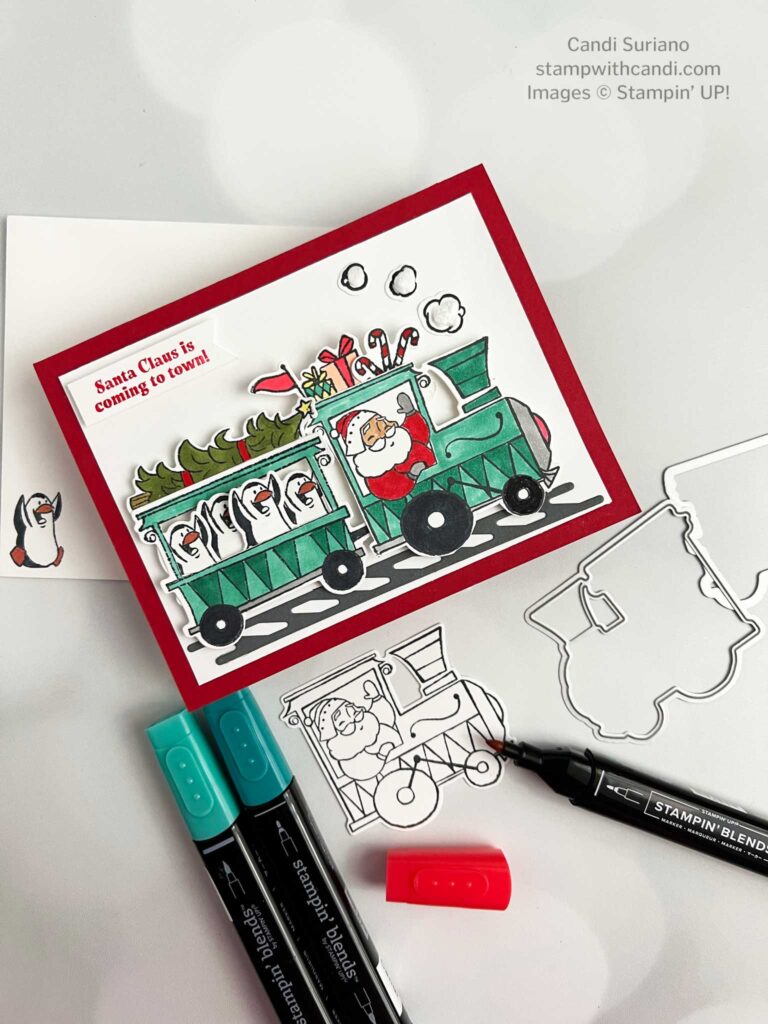
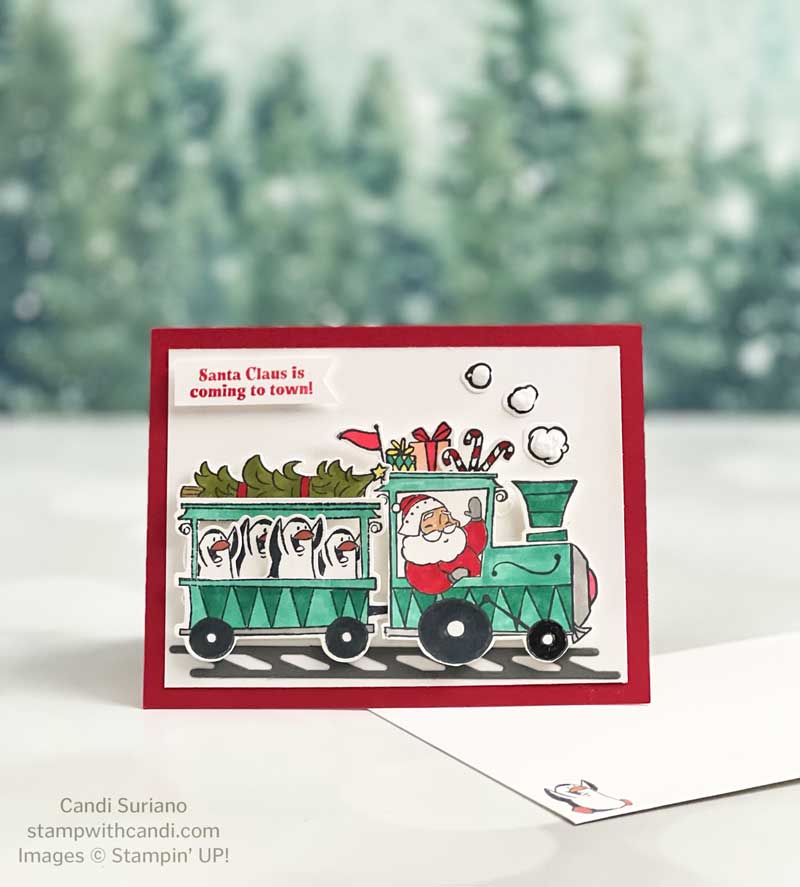
Isn’t this card just so cute? I don’t know what I like the most. The 3-D smoke coming out of the engine? The cheering penguins? Or, how about the presents, candy canes, and trees riding on top of the train? All of them are so fun!
As you can see, this project has a lot of coloring! But, it’s easy coloring because you aren’t trying to make images realistic, you’re just trying to get some color down. And you can color less than I did. For example, You could color only the pennants, wheels, and Santa on the train. Or you could use fewer stamps.
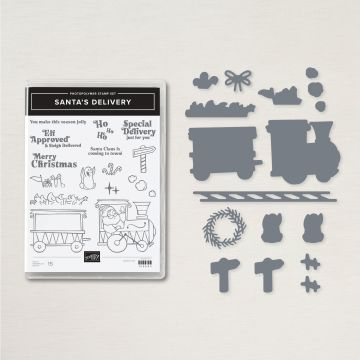
Santa’s Delivery Bundle
There is so much to love about this bundle! The train is so cute as are those cheering penguins! The images coordinate beautifully with the train images as they can fit inside the train car or on top. This set would make wonderful slim line cards – a multi-car train. I also love that there’s a train track to ‘ground’ the train.
And, although I don’t show it here, the dies cut out images from the Santa Express Designer Series paper. I just love how Stampin’ Up! has been doing this recently. It makes the bundle so versatile!
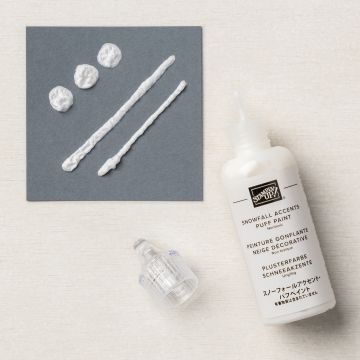
SnowFall Accents Puff Paint
This stuff is amazing. Put a little where you want it, then heat set and watch it puff up! I can see a lot of uses for it. I’m picturing a penguin snowball fight with puffy snowballs flying through the air!
Today’s Color Palette
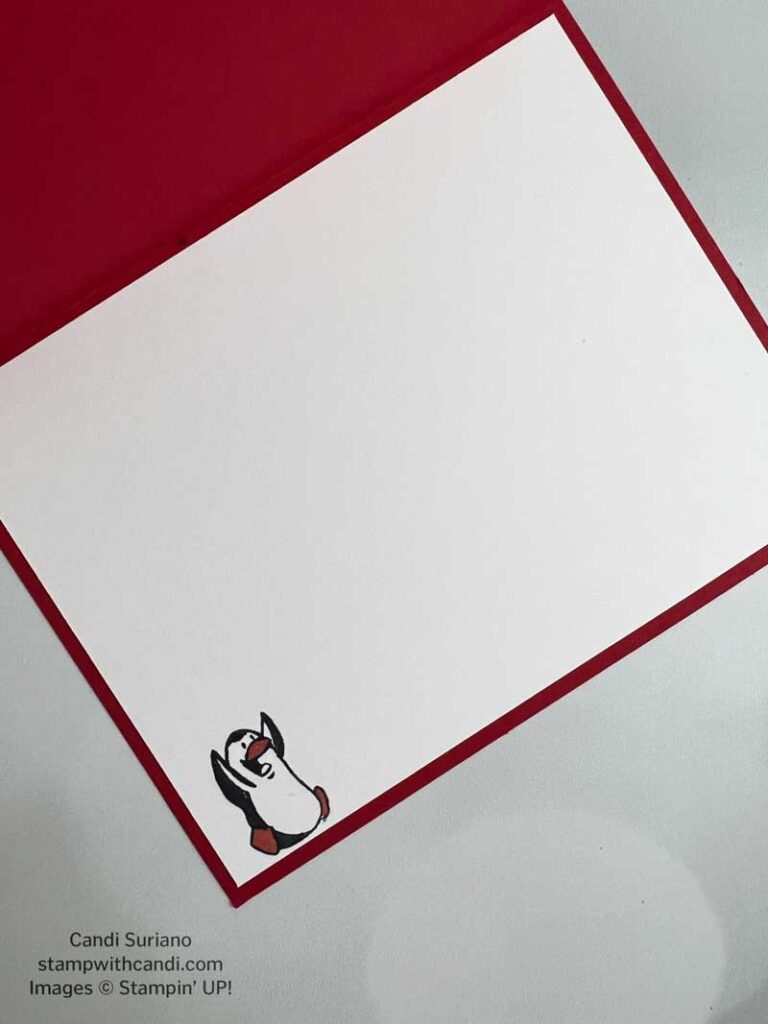
Make the Inside Pretty
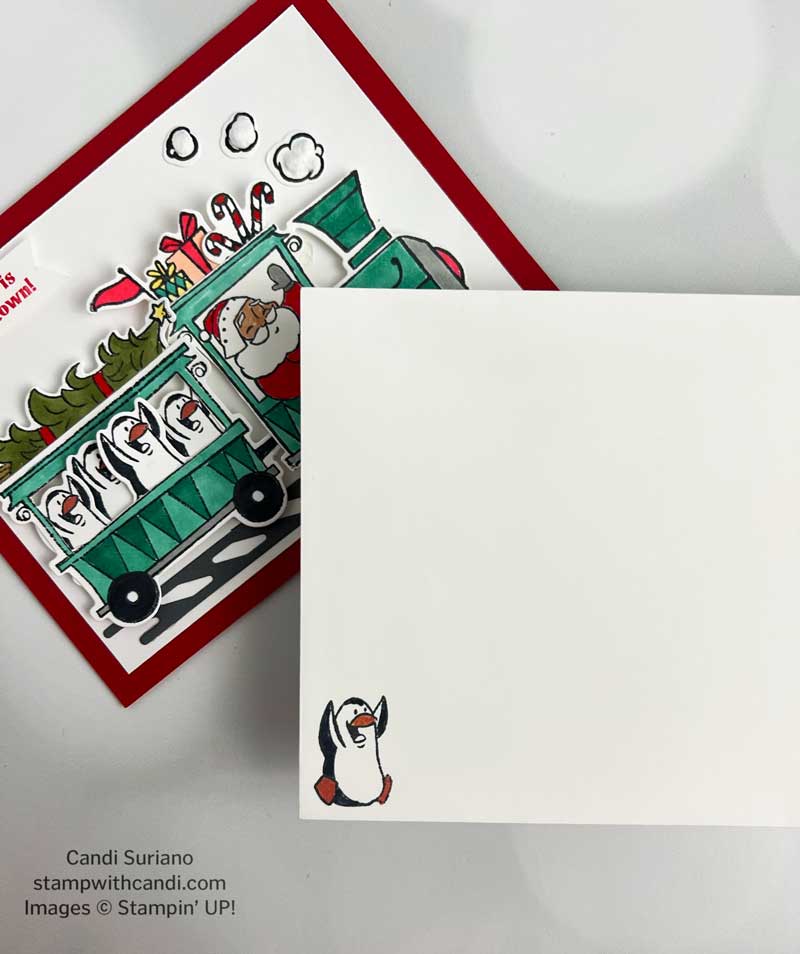
For the inside, I added a Basic White liner and then a stamped and colored penguin.
Don’t Forget the Envelope
I also used a stamped and colored penguin for the envelope. Can you tell I think these penguins are just so dang cute!
You Can Make it, Too! – Santa’s Delivery
I hope you enjoyed today’s card. The instructions for making it are below.
Stamp & DieCut the Elements
- Stamp the Santa image on a piece of Basic White cardstock using Momento Tuxedo Black ink. Color using these Stampin’ Blends: Light Bermuda Bay, Dark Bermuda Bay, Light Smoky Slate, Dark Smoky Slate, Dark Basic Black, and Dark Poppy Parade.
- Stamp the train card on a piece of Basic White cardstock using Momento Tuxedo Black ink. Color using these Stampin’ Blends: Light Bermuda Bay, Dark Bermuda Bay, and Dark Basic Black.
- Stamp the Candy Canes image on a piece of Basic White cardstock using Momento Tuxedo Black ink. Color using a Dark Poppy Parade Blends.
- Stamp the Presents mage on a piece of Basic White cardstock using Momento Tuxedo Black ink. Color using these Stampin’ Blends: Dark Poppy Parade, Light Petal Pink, and Dark Daffodil Delight,
- Stamp the Christmas Tree image on a piece of Basic White cardstock using Momento Tuxedo Black ink. Color using these Stampin’ Blends: Dark Mossy Meadow, Dark Daffodil Delight, Dark Poppy Parade.
- Stamp the Penguin images 4 times on a piece of Basic White cardstock using Momento Tuxedo Black ink. Color using the Dark Cajun Craze and Dark Basic Black blends.
- Stamp the Smoke image on a piece of Basic White Cardstock using Momento Tuxedo Black ink. After die-cutting, add Snowfall Accents Puff Paint to each smoke. Heat set and watch them puff.
- Die cut all images.
- Stamp the sentiment on a piece of 1 3/4″ X 1/2″ Basic White cardstock using Poppy Parade ink. Flag the end.
- Die cut the railroad track using Basic Gray ink.
- Cut out the center of the train car.
Assemble the card
- Cut a piece of Poppy Parade at 5 1/2″ X 8 1/2″. Score at 4 1/4″. Fold and crease with a bone folder.
- Cut a piece of Basic White at 5″ X 3 3/4″. Adhere to the card front.
- Attach the Candy Canes, Gifts, and Christmas Tree to the tops of the train using liquid glue.
- Adhere the Penguins to the back of the train car using liquid glue.
- Attach the train to the card front using dimensionals.
- Attach the smoke puffs to the card front using liquid glue.
- Attach the sentiment to the card front using dimensionals.
Join Stampin’ Up! During Sale-A-Bration
Do you have a wish list that’s more than $125? How about getting your hands on new products before it’s available to everyone? Maybe you want to attend fun events with other Stampin’ Up! demonstrators? Or perhaps a discount on the products you buy tempts you? (My favorite!) Well, these are all perks of being a Stampin’ Up! demonstrator. And, if you join during Sale-a-bration, not only do you get $125 worth of products for $99, but you’ll also get a fabulous planner to keep you organized and enjoy a 20% discount on future purchases.
And if after your first quarter or two, you decide that Stampin’ Up! isn’t for you, then you can leave with no questions asked. I have to tell you, I’ve never regretted joining! Some of my closest friends are people I’ve met through Stampin’ Up! If this appeals to you, click Join at the top of this page!
